Add Text to Photo: Free Tools & Step-by-Step Guide

Adding text to photo files takes under five minutes using a free online text overlay tool. You upload your image, click the text tool, type your message, adjust the font and color, then download. Most free tools export without a watermark, though premium software like Adobe Photoshop costs $22.99/month if you need advanced layer control. This guide covers the exact steps, the best fonts to use, readability rules, and which tool fits your specific need — whether that’s a meme, a product ad, or a simple photo caption.
I’m going to walk you through this the way I’d explain it to a friend over coffee. No fluff. No filler. Just what works.
Why Adding Text to Your Photos Actually Matters
Here’s the thing nobody tells you upfront: a photo without text is just a photo. Add the right words, though, and suddenly it’s a message.
Think about the last meme that made you laugh, or the last Instagram quote graphic that stopped your scroll. None of that happens by accident. It happens because someone understood how a text overlay works and used it well.
You are not just decorating an image when you do this. You’re directing attention. You are adding context that a bare photo can’t give on its own, whether that’s a caption, a watermark, a title, or a call-to-action sitting on a product shot.
According to Overlay Text’s guide, a text overlay covers a huge range of ground: captions, headlines, watermarks, logos, quote graphics, memes, subtitles, you name it. One skill, dozens of applications.
If you’re comparing full editing suites before you commit to one, our free AI photo editor tools guide breaks down the best options for photo editing beyond just text.
Step-by-Step: How to Add Text to a Photo Online
You don’t need Photoshop for this. You really don’t.
Here’s the process that works across almost every free browser-based tool out there, including Canva and VistaCreate:
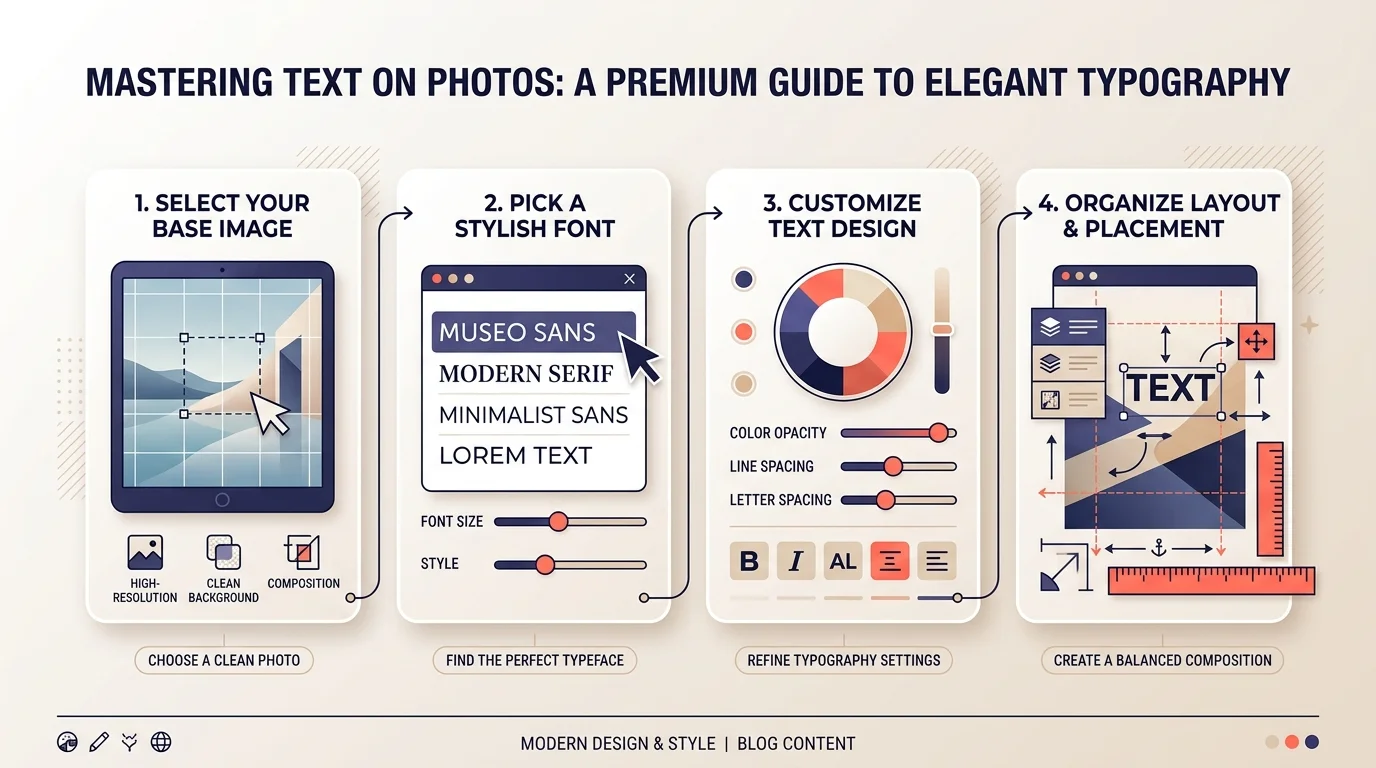
Step 1: Upload your photo. Drag it into the editor, or pick one from a stock library if you don’t have your own image ready.
Step 2: Click the text tool. It’s usually a “T” icon or an “Add Text” button sitting right at the top of the screen.
Step 3: Type your message. Keep it short at first. You can always expand later.
Step 4: Customize the look. This is where the fun starts. Pick your font style, adjust the text color, play with size, and drag it wherever it looks best.
Step 5: Add contrast if it’s hard to read. A text shadow, a subtle background box, or an outline will fix that instantly.
Step 6: Download. Most free tools, like Visual Watermark’s Add Text to Photo tool, let you export without a watermark, which honestly should be the standard by now.
If you’d rather use an all-in-one AI editor for this, check out our Pixlr AI photo and video editor guide for a walkthrough of its text and design tools.
Choosing the Right Font (This Part Matters More Than You’d Think)
You’d be surprised how much a font can make or break your image.
If you’re making something playful or meme-adjacent, you want bold, thick lettering that reads instantly, even at a glance. That’s exactly why Impact font became the internet’s unofficial meme standard. As Cedilla Studio explains, its tall x-height and condensed letterforms guarantee legibility at small sizes, which is why it still dominates decades later.
Want something softer for a quote graphic or a personal photo? Look at cleaner sans-serif options, or something like Pacifico for a handwritten feel.
Here’s a quick comparison of which font fits which use case:
| Use Case | Recommended Fonts | Why It Works |
|---|---|---|
| Memes and bold captions | Impact, Anton, Bebas Neue | Thick strokes, high legibility at small sizes |
| Clean modern captions | Montserrat, Helvetica Bold | Neutral, professional, easy to scan |
| Personal, warm tone | Pacifico, Comfortaa | Softer curves, friendly feel |
| Professional branding | Your existing brand font | Reinforces brand recognition |
Speaking of consistency, that’s not a small detail. If you’re adding text for a brand, Stock Photo Secrets notes that keeping your fonts, colors, and placement uniform reinforces brand identity every single time someone sees your content.
Making Sure Your Text Actually Gets Read
This is the mistake most people make. They add text, admire it for two seconds, and post it, without checking if it’s actually readable.
Here’s what fixes that:
- Use high contrast. White text on dark backgrounds, dark text on light ones.
- Add an outline or stroke. A thin black outline around white lettering keeps your caption legible no matter what’s happening behind it in the photo.
- Try a semi-transparent background box. If your photo is busy, giving your text its own “stage” behind it does wonders.
- Don’t overcrowd the frame. If your words start touching the edges, drop the font size or cut a few words.
Beyond Basic Captions: Text Behind Image and Other Effects
Once you’ve got the basics down, you’ll probably want to level up.
One effect worth trying is text behind image, where your words appear to sit behind the subject of your photo rather than flatly on top of it. Overlay Text’s tool automates this using AI, detecting the subject and slotting your text behind it in seconds.
There’s also knockout text, where the photo itself shows through the letters, and embossed or beveled text if you want something more three-dimensional and tactile-looking.
Don’t Forget Accessibility and SEO
Here’s a piece most guides skip entirely: text baked into an image is invisible to search engines and screen readers. If the words matter for SEO or accessibility, always pair your image text with real HTML alt text describing the same message. This lets visually impaired visitors and Google’s crawlers both understand what your image says, not just what it looks like. It’s a two-minute step that protects the value of the caption you just spent time designing.
Which Tool Should You Actually Use?
| Tool | Best For | Price | Watermark-Free Export |
|---|---|---|---|
| Canva | All-in-one design + text | Free / Pro plans | ✅ |
| Visual Watermark | Quick captions, watermarks | Free | ✅ |
| Adobe Photoshop | Advanced layered control | $22.99/month | ✅ |
| Phonto | Mobile captions | Free | ✅ |
| Meme generator apps | Impact-style meme text | Free | ✅ |
Whatever you choose, don’t overthink it. The tool matters far less than the habit of actually finishing the image instead of leaving it plain.
Frequently Asked Questions
Is it free to add text to a photo?
Yes. Most browser-based tools, including Canva and Visual Watermark, let you add text and download the finished image for free without a watermark.
What font do memes use?
Impact is the classic meme font, thanks to its bold, condensed letterforms. Anton and Bebas Neue are close modern alternatives.
Do I need Photoshop to add text to a photo?
No. Photoshop offers more advanced layer control but costs $22.99/month. Free online tools cover nearly every common use case.
How do I make text readable on a busy photo?
Use high-contrast colors, add a black outline or stroke, or place a semi-transparent box behind the text.
Does text in an image help my SEO?
Not directly. Search engines can’t read text baked into an image, so always add matching alt text to the image itself.
Can I add text to a photo on my phone?
Yes. Both iPhone and Android have built-in markup tools, and apps like Phonto add more font options.
Your Next Step
You’ve got the process, the font logic, and the readability rules.
Now go open one of these tools and try it on a photo you’ve been sitting on for weeks. You’ll be surprised how much better it looks with even three or four well-placed words. For more editing power beyond text, browse our free AI photo editor tools guide to find your next go-to app.